
Teriyaki Chicken Casserole – Easy Weeknight Dinner Recipe
Teriyaki Chicken Casserole is a quick, saucy weeknight dinner with tender chicken and a homemade teriyaki glaze. Sweet flavor beats takeout. Get the recipe now.

Teriyaki Chicken Casserole saves busy weeknights with its sticky, savory magic. Too often, homemade teriyaki turns out watery or bland. I ruined three batches before nailing the sauce-to-chicken ratio. The glaze caramelizes into shiny, deep-brown bites that smell like a Japanese steakhouse. Pair it with my cottage cheese flatbread for a low-carb side. Jump to the recipe card or keep reading for my best tips. You might also love my my cottage cheese flatbread.
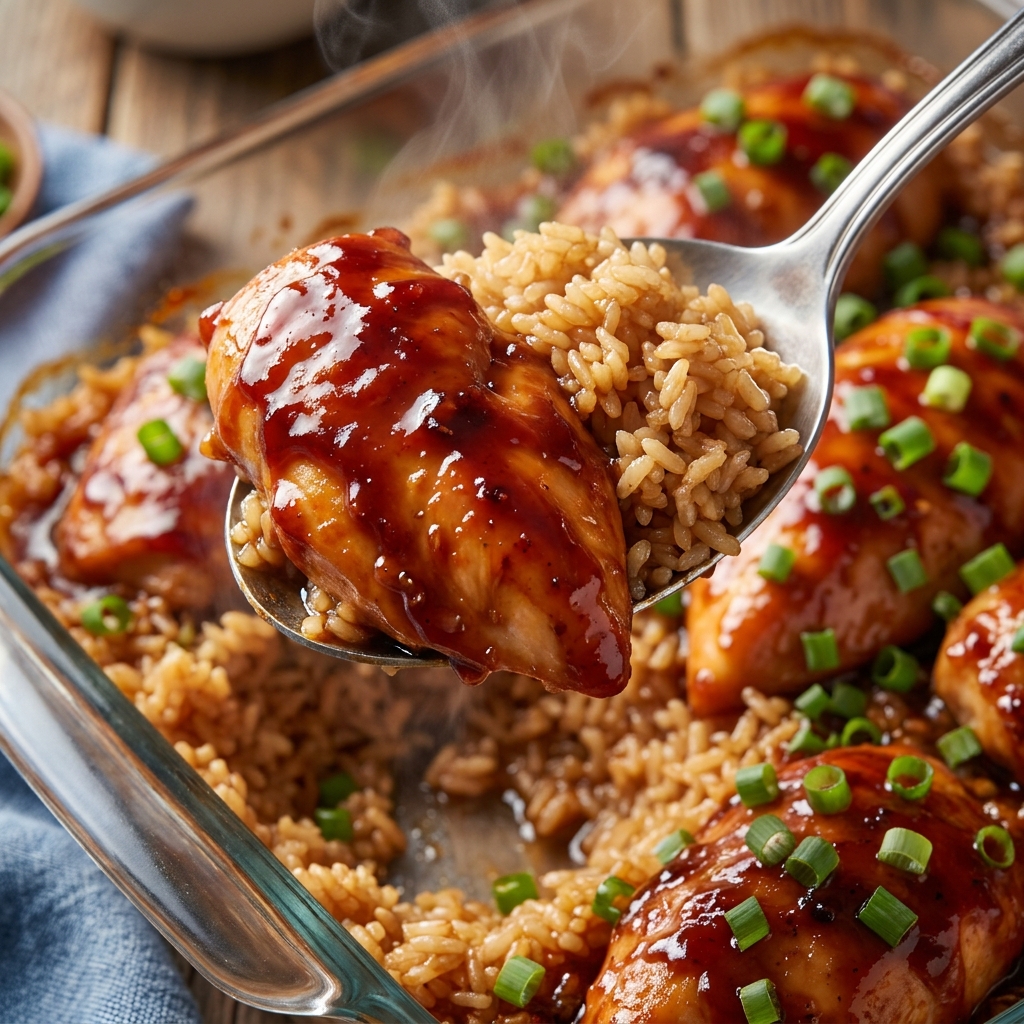
Why You'll Love This Teriyaki Chicken Casserole – Easy Weeknight Dinner Recipe
- The sauce thickens perfectly every time without cornstarch clumps, thanks to a quick stovetop reduction before baking.
- Chicken stays juicy even when reheated because we use bone-in thighs and seal in moisture during the sear.
- One-pan cleanup means less time scrubbing—everything bakes in a single casserole dish after the initial sauté.
- Tastes better than takeout because you control the sweetness, adjust sodium, and use fresh garlic and ginger.
Ingredients for Teriyaki Chicken Casserole – Easy Weeknight Dinner Recipe
Exact amounts are in the printable recipe card below — here's what you'll need at a glance.
Main Ingredients
- 2 lbs bone-in, skin-on chicken thighs (about 6 thighs)
- 1/2 cup low-sodium soy sauce
- 1/4 cup mirin (sweet rice wine)
- 1/4 cup packed light brown sugar
- 2 tablespoons rice vinegar
- 1 tablespoon sesame oil
- 4 cloves garlic, minced
- 1 tablespoon fresh grated ginger
- 1 tablespoon cornstarch mixed with 2 tablespoons cold water
- 3 cups broccoli florets
- 1 red bell pepper, sliced
Seasonings & Flavors
- 1/2 teaspoon red pepper flakes (optional)
- Kosher salt and black pepper to taste
Optional Toppings
- (Optional) Sliced green onions
- (Optional) Toasted sesame seeds
- (Optional) Crushed red pepper
- (Optional) A drizzle of toasted sesame oil
Ingredient Notes
- Bone-in chicken thighs: Thighs stay juicier than breasts. Skin provides fat that bastes the meat and adds flavor. You can use boneless thighs, but reduce bake time by 8–10 minutes and watch for dryness.
- Mirin: This sweet rice wine adds authentic teriyaki depth. Substitute dry sherry plus a pinch of sugar if needed, but the sauce won’t have the same glossy finish.
- Cornstarch slurry: The slurry prevents a runny sauce. Always mix cornstarch with cold water before adding to hot liquid to avoid lumps. Too much slurry makes the sauce gummy; stick to the ratio.
- Broccoli: Fresh broccoli adds crunch and soaks up sauce. Frozen broccoli works in a pinch, but pat it dry first or it will release water and dilute the teriyaki glaze.
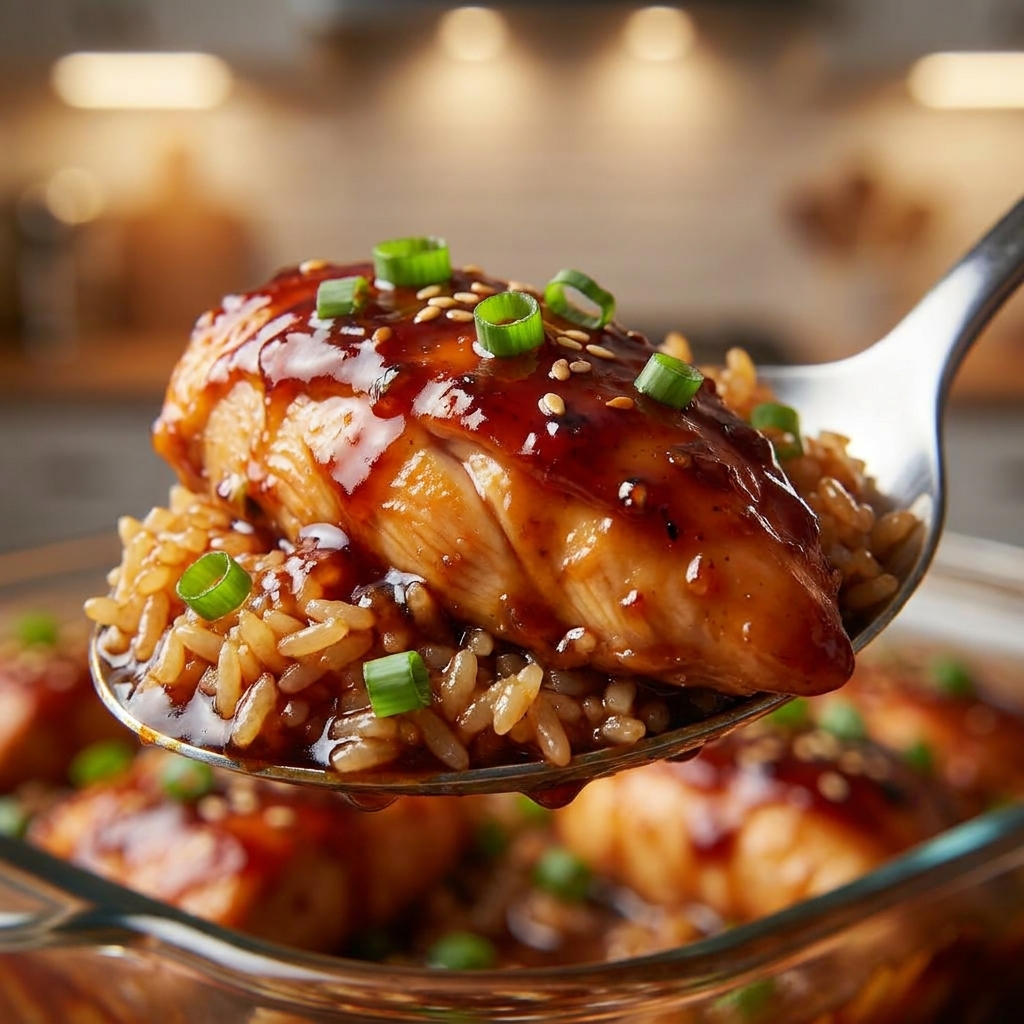
How to Make Teriyaki Chicken Casserole – Easy Weeknight Dinner Recipe Step by Step
Preheat and Prep
Preheat your oven to 375°F. Pat chicken thighs completely dry with paper towels. Dry skin means better browning. Season both sides generously with salt and pepper.
Sear the Chicken
Heat a large oven-safe skillet or casserole dish over medium-high heat. Add 1 tablespoon sesame oil. Place chicken skin-side down and cook 4–5 minutes until deep golden brown. Don’t crowd the pan; work in batches if needed. Flip and sear 2 more minutes. Transfer chicken to a plate.
Build the Teriyaki Sauce
Reduce heat to medium. In the same skillet, add minced garlic and grated ginger. Stir 30 seconds until fragrant—it should smell nutty, not burnt. Pour in soy sauce, mirin, brown sugar, and rice vinegar. Scrape up the browned bits from the pan. Simmer 3–4 minutes until sugar dissolves and the sauce starts to thicken slightly.
Thicken with Slurry
Stir the cornstarch slurry again, then drizzle into the simmering sauce while whisking constantly. Cook 1–2 minutes until the sauce coats the back of a spoon. If it gets too thick, add a splash of water. Remove from heat.
Assemble the Casserole
Nestle seared chicken thighs skin-side up into the sauce. Scatter broccoli florets and bell pepper around the chicken. Spoon some sauce over the vegetables. They’ll steam and caramelize as they bake.
Bake Until Caramelized
Transfer the skillet to the oven. Bake uncovered for 30–35 minutes. The sauce should bubble and the chicken skin should look deeply lacquered. Internal temp of chicken must reach 175°F (use a thermometer). If the top isn’t glossy enough, broil for 2–3 minutes, watching closely to prevent burning.
Rest and Serve
Remove from oven and let rest 5 minutes. The sauce will thicken further as it cools. Top with green onions and sesame seeds. Serve over steamed white rice or with a side of cottage cheese flatbread.
Pro Tips for the Best Teriyaki Chicken Casserole – Easy Weeknight Dinner Recipe
- Proper Chicken Searing: Always pat chicken bone-dry before searing. Even a little moisture causes skin to steam rather than crisp. Use a heavy skillet—cast iron holds heat best and creates that dark, caramelized crust.
- Common mistake and fix: Watery casserole is the #1 fail. It happens when you skip the cornstarch slurry or don’t simmer the sauce long enough before baking. Fix: Always reduce the sauce until it heavily coats a spoon. If you forgot, pour off excess liquid after baking and whisk in a fresh slurry on the stovetop, then pour it back over.
- Veggie Texture: Add veggies raw and uncooked to the casserole. They’ll steam and absorb flavor without turning mushy. If you boil or steam them beforehand, they’ll disintegrate during baking.
- Sauce Customization: For a spicier kick, add 1 teaspoon sriracha or gochujang to the sauce. For extra sweetness, increase brown sugar by 1 tablespoon. Taste the sauce before baking—remember flavors concentrate as it reduces.
Storing and Reheating Teriyaki Chicken Casserole – Easy Weeknight Dinner Recipe
Refrigerator Storage
Store leftovers in an airtight glass container for up to 4 days. Glass prevents sauce from picking up fridge odors.
Freezing Teriyaki Chicken Casserole – Easy Weeknight Dinner Recipe
Freeze cooled casserole in a freezer-safe zip-top bag with air pressed out. Lay flat to freeze. Good for up to 2 months. Thaw overnight in the fridge before reheating.
Reheating in the Oven
Reheat covered with foil at 325°F for 15–20 minutes. Add a splash of water or extra teriyaki sauce to revive the glaze. Uncover for the last 5 minutes to crisp the skin.
Reheating in the Microwave
Place a portion in a microwave-safe bowl, add a teaspoon of water, cover with a damp paper towel, and heat at 70% power for 1–2 minutes. Stir halfway to avoid hot spots and sogginess.
Make Ahead
Sear the chicken and make the sauce up to 2 days ahead. Store separately in the fridge. When ready to bake, assemble cold ingredients in the skillet, add 5 extra minutes to the bake time.
Teriyaki Chicken Casserole – Easy Weeknight Dinner Recipe
Prep
20 minutes
Cook
35 minutes
Total
55 minutes
Yield
4 servings
Category
Main Dishes
Method
Baking
Cuisine
American
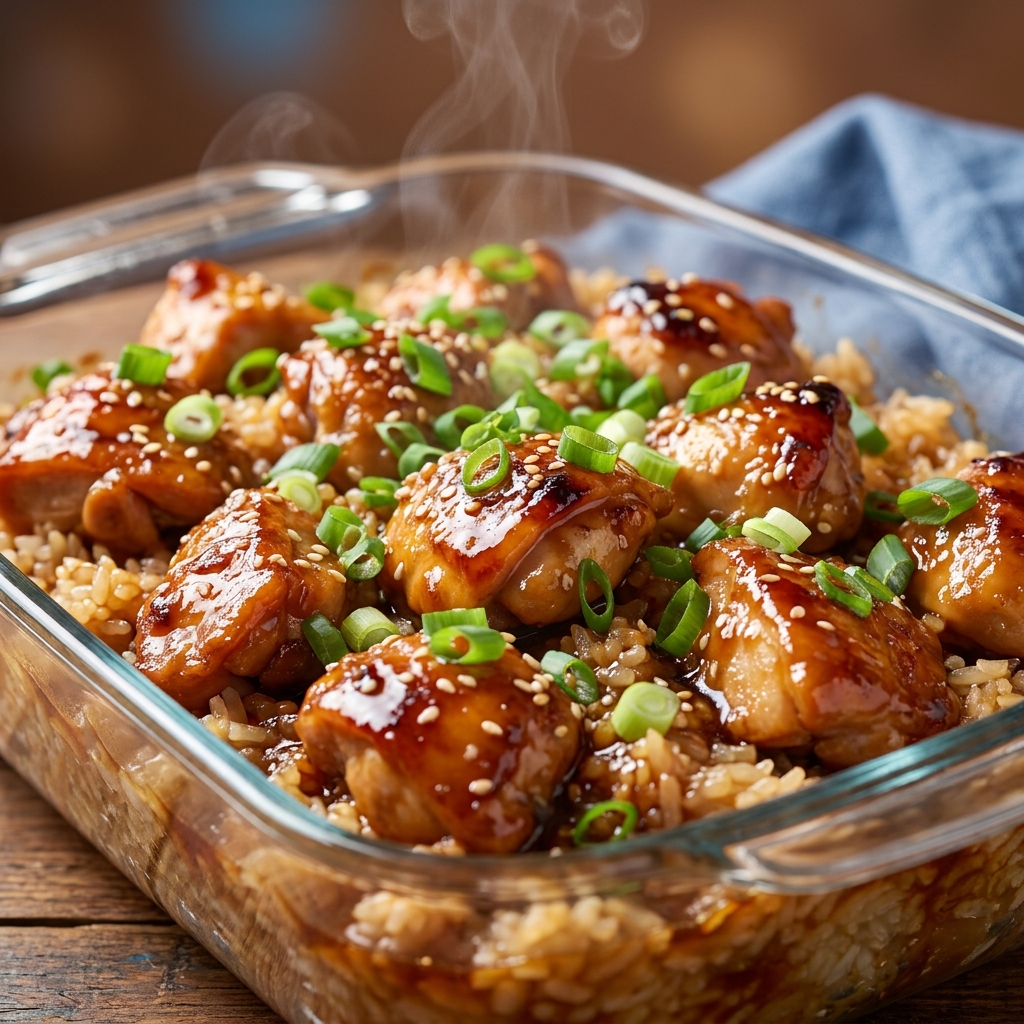
Ingredients
Main Ingredients
- 2 lbs bone-in, skin-on chicken thighs (about 6 thighs)
- 1/2 cup low-sodium soy sauce
- 1/4 cup mirin (sweet rice wine)
- 1/4 cup packed light brown sugar
- 2 tablespoons rice vinegar
- 1 tablespoon sesame oil
- 4 cloves garlic, minced
- 1 tablespoon fresh grated ginger
- 1 tablespoon cornstarch mixed with 2 tablespoons cold water
- 3 cups broccoli florets
- 1 red bell pepper, sliced
Seasonings & Flavors
- 1/2 teaspoon red pepper flakes (optional)
- Kosher salt and black pepper to taste
Optional
- Sliced green onions
- Toasted sesame seeds
- Crushed red pepper
- A drizzle of toasted sesame oil
Instructions
- 1Preheat and Prep: Preheat your oven to 375°F. Pat chicken thighs completely dry with paper towels. Dry skin means better browning. Season both sides generously with salt and pepper.
- 2Sear the Chicken: Heat a large oven-safe skillet or casserole dish over medium-high heat. Add 1 tablespoon sesame oil. Place chicken skin-side down and cook 4–5 minutes until deep golden brown. Don’t crowd the pan; work in batches if needed. Flip and sear 2 more minutes. Transfer chicken to a plate.
- 3Build the Teriyaki Sauce: Reduce heat to medium. In the same skillet, add minced garlic and grated ginger. Stir 30 seconds until fragrant—it should smell nutty, not burnt. Pour in soy sauce, mirin, brown sugar, and rice vinegar. Scrape up the browned bits from the pan. Simmer 3–4 minutes until sugar dissolves and the sauce starts to thicken slightly.
- 4Thicken with Slurry: Stir the cornstarch slurry again, then drizzle into the simmering sauce while whisking constantly. Cook 1–2 minutes until the sauce coats the back of a spoon. If it gets too thick, add a splash of water. Remove from heat.
- 5Assemble the Casserole: Nestle seared chicken thighs skin-side up into the sauce. Scatter broccoli florets and bell pepper around the chicken. Spoon some sauce over the vegetables. They’ll steam and caramelize as they bake.
- 6Bake Until Caramelized: Transfer the skillet to the oven. Bake uncovered for 30–35 minutes. The sauce should bubble and the chicken skin should look deeply lacquered. Internal temp of chicken must reach 175°F (use a thermometer). If the top isn’t glossy enough, broil for 2–3 minutes, watching closely to prevent burning.
- 7Rest and Serve: Remove from oven and let rest 5 minutes. The sauce will thicken further as it cools. Top with green onions and sesame seeds. Serve over steamed white rice or with a side of cottage cheese flatbread.
Recipe Notes
- Chef tip: Use a digital instant-read thermometer to check chicken doneness. Pull at 170°F because carryover cooking will bring it to 175°F during rest. Overcooking dries out thighs quickly.
- Best substitution: Swap chicken thighs for boneless skinless breasts if you prefer leaner meat. Pound them to even thickness and reduce bake time to 18–22 minutes. Check internal temp at 165°F.
- Make-ahead: Assemble the entire casserole (without baking) up to 1 day in advance. Cover tightly and refrigerate. Add 10 minutes to bake time straight from the fridge, and make sure the internal temp reaches 175°F.
- Scaling: Double the recipe using a larger casserole dish or two skillets. Keep the sauce-to-chicken ratio the same—just multiply ingredients by two. Bake time may increase by 5–10 minutes.
- Troubleshooting: If the sauce is watery after baking, remove the chicken and vegetables, pour the liquid into a saucepan, and simmer over medium-high heat until reduced by half. Whisk in a fresh cornstarch slurry and cook until glossy, then return to the pan.
Nutrition Per Serving
- Calories: 485 kcal
- Protein: 38g
- Fat: 24g
- Saturated Fat: 6g
- Carbohydrates: 28g
- Fiber: 3g
- Sugar: 18g
- Sodium: 980mg
- Cholesterol: 140mg
Nutritional values are estimates only. Actual values may vary by brand and portion size.
Made this recipe?
I’d love to see how your Teriyaki Chicken Casserole – Easy Weeknight Dinner Recipe turned out — leave a star rating and a comment below. I read every one!
Frequently Asked Questions about Teriyaki Chicken Casserole – Easy Weeknight Dinner Recipe
Can I make Teriyaki Chicken Casserole gluten-free?
Yes, substitute tamari or coconut aminos for soy sauce. Check that your mirin is gluten-free (some brands add wheat). Use cornstarch (naturally GF) for thickening. The flavor will be slightly less salty but still caramelized.
How do I keep the chicken skin crispy in a casserole?
Sear skin-side down until very golden before baking. Bake uncovered the whole time. For extra crunch, broil for the final 2–3 minutes, watching carefully. Skin can soften as it sits in sauce, so serve immediately.
What side dishes go with teriyaki chicken casserole?
Steamed jasmine rice soaks up the sauce beautifully. For a low-carb option, try my cottage cheese flatbread. Roasted broccoli or a cucumber salad adds freshness without competing flavors.
Is this Teriyaki Chicken Casserole good for meal prep?
Absolutely. Portion into meal prep containers with rice and steamed veggies. It reheats well in the microwave if you add a damp paper towel. The sauce may thin slightly, but the flavor intensifies.
Can I use store-bought teriyaki sauce instead of homemade?
You can, but the result will be noticeably sweeter and saltier. Reduce baking time by 5 minutes to prevent burning. Homemade lets you control the sugar and sodium, which I prefer.




[…] Easy Lemon Blueberry Cottage Cheese Pancake Bites solve the morning chaos of flipping pancakes while kids tug at your sleeve. Soggy centers and burnt outsides plagued my early attempts until I nailed the batter-to-moisture ratio. The first batch that worked filled my kitchen with buttery lemon scent and the sizzle of golden edges crisping perfectly. I learned to drain cottage cheese well or you will get rubbery pucks instead of fluffy bites. If you loved my Teriyaki Chicken Casserole, this quick breakfast follows the same dump-and-bake logic. Jump to the recipe card or keep reading for my best tips. You might also love my Teriyaki Chicken Casserole. […]